* Optional Pictures stanza:
... end Optional Pictures stanza
* Body layout begins:
Martin Paulus
1. Project Responsibilities
What responsibilities do you have inside of the project ?
None yet, but hopefully "maintaining USB install tip" soon

2. Install CentOS 6.3 on USB flash drive (regular install, not live mode)
This method was tested using CentOS 6.3 x86_64 non-EFI minimal version on a server which houses 4 GB of RAM and therefore qualifies for graphical install.
For the most part the on screen instructions are sufficient to guide you through the install. In this short article I will note the areas where you might need to differ from the defaults or where I feel additional explanation is needed.

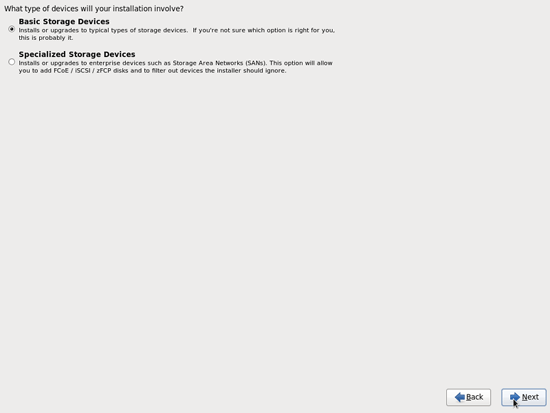
First of all start the install and continue until you reach the page where you will have to select a target storage device for your installation. During my testing on a VM I found that an USB flash drive was listed under the Basic Storage Devices. However, during a bare install from CD on a server I found that the USB flash drive did only show up under Specialized Storage Devices. (Perhaps this behaviour can be explained by the presence of SATA hard disks on the server which were absent from the VM.) Since we opted to install to USB flash drive, please select Specialized Storage Devices and select your USB flash drive (which is identified by both product name and capacity). Continue the install until it finishes.

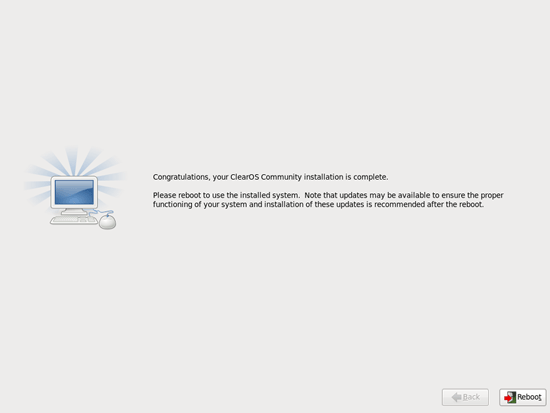
When the concluding screen is presented, congratulating you on completing the installation, do not press Reboot. Instead switch over to a virtual console with a shell by pressing Ctrl + Alt + F2. Once on the shell enter the following command to switch from your current install media / RAM disk root to the installation target drive root:
chroot /mnt/sysimage
Now edit the dracut configuration file:
vi /etc/dracut.conf
Below the line that reads Add drivers add the following to the list of modules: xhci-hcd. Do not forget to remove the hash mark at the start of the line you just edited to enable the interpretation of this line. Save your changes and exit: :wq. Once back on the command line execute:
/sbin/dracut –force
This command updates the initramfs image on /boot to include the xhci-hcd module which you have just declared in the configuration file. To verify the presence of the xhci-hcd module in the initramfs image run:
/sbin/lsinitrd /boot/initramfs* | grep hcd
This lists the contents of the initramfs image and then filters the output so that only entries containing “hcd” are displayed.
When you have completed the regeneration of the initramfs image you can safely reboot. Remember to remove the installation media from the optical drive.
During my test the bootloader was succesfully installed on the USB flash drive and did not need any manual (re-)configuration after the graphical install.
3. Contact information
Email: <LHS_email AT SPAMFREE DOMAIN_email DOT TLD_email> or <name AT otherdomain DOT org>
Website: http://your.website.com/
4. Interests
What are your personal interests in the CentOS project ?
- ...
5. List of achievements
What have you accomplished already ?
- Community-wise: nothing. Technically speaking: CentOS as iSCSI target server; CentOS installed to iSCSI target.
6. Personal TODO list
What items are you going to do (if time permits) ?
- Contribute an Install CentOS to USB tip
7. Biography
If you are planning to do presentations, it could be interesting to provide a short and long biography upfront so Event organizers can simply provide this information when they need it.
7.1. Short
All work and no play makes Martin a dull, dull boy..
7.2. Long
When Martin was in secondary school, he became intoxicated by Linux...(starting with Red Hat, of course ![]()
8. Scratch area
Free flow of ideas, thoughts, links and whatever you like...
